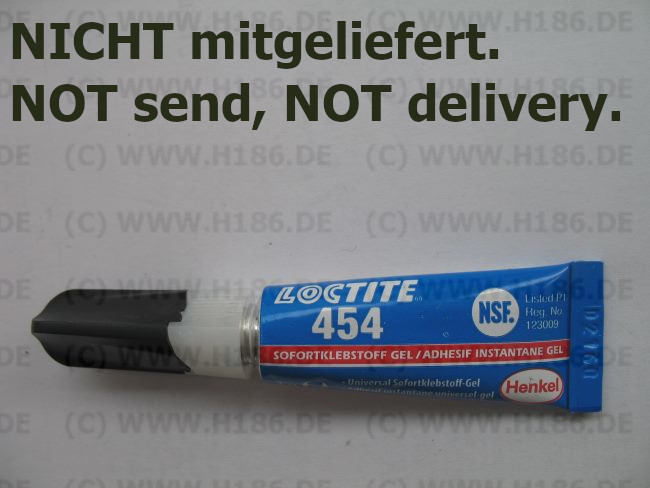
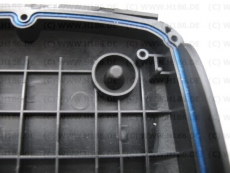
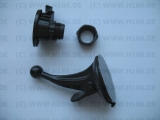
Sie können den Klebstoff gleich mitbestellten (solange Vorrat reicht).
Bitte hier LOCTITE 454 3g
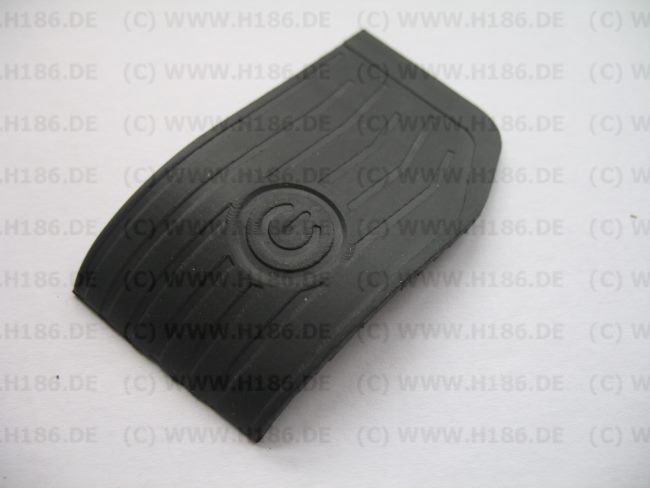
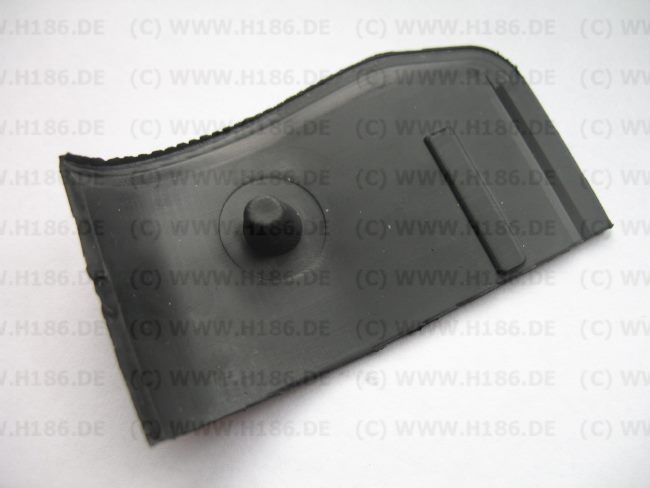
Unsere Knopf-Abdeckung ersetzt die originale abgenutzte oder ausgebrochene Leiste, Knopf-Abdeckung.
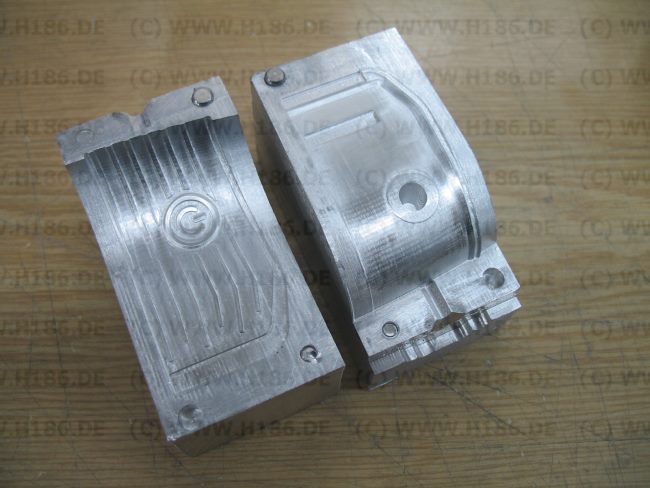
Material: TPE-Kunststoff (Spritzguss Verfahren).
A compatible power button replacement cover for Garmin Zumo 590, 595.
Our button cover replaces the original worn or broken button cover.
Material: TPE-plastic (injection molding process).
Unsere elastische Abdeckung und originale Abdeckung.
Our elastische cover and original cover.
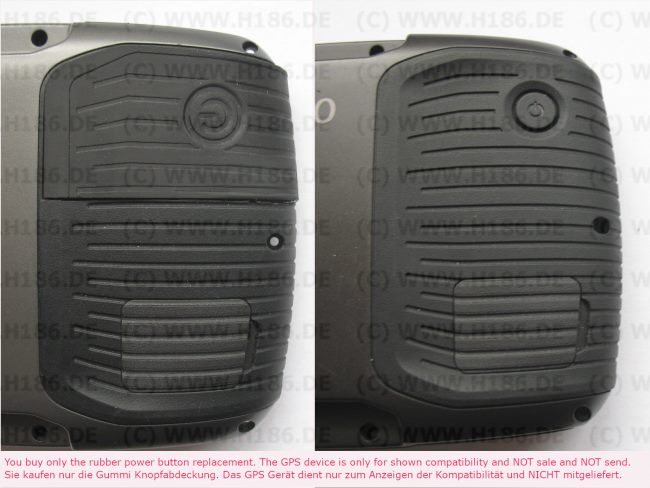
We produce these alastic covers ourselves.
Lieferungsumfang: eine elastische Abdeckung, 1 Stück.
Scope of delivery: one elastic cover, 1 piece.
Without adhesive, without knives, without other accessories.
Das GPS Gerät und Gehäuse Teile dienen nur zum Anzeigen der Kompatibilität und Funktionalität, und NICHT mitgeliefert !
The GPS Device und Cases is only for compatibility / functionality and NOT sale and NOT send.
Ohne entsprechende Erfahrung können Sie Ihr Gerät kaputt machen.
Achtung: Verletzungsgefahr durch spitze oder scharfe Werkzeugen!
No replacement instructions are included, our offer is aimed at experts.
Without appropriate experience, you can break your device.
Attention: Risk of injury from pointed or sharp tools!
Unten, unsere kleine Anleitung für Austausch der elastischen Abdeckung, nur für die Knopf, die ganze Leiste wird eben so ausgetauscht:
Below, our little guide for replacing the alastic cover, just for the button, the whole bar is replacing also in the same way:
Sie können das Gerät nicht zerlegen. Aber wenn Sie doch zerlegen möchten - Achtung! Vorsichtig mit dem Display Kabel und mit der Display-Buchse, beide Teile gehen leicht kaputt.
You cannot take to 2 pieces the device. But if you want to take to 2 pieces - Attention! Careful with the display cable and with the display socket, both parts will easily break.
1-
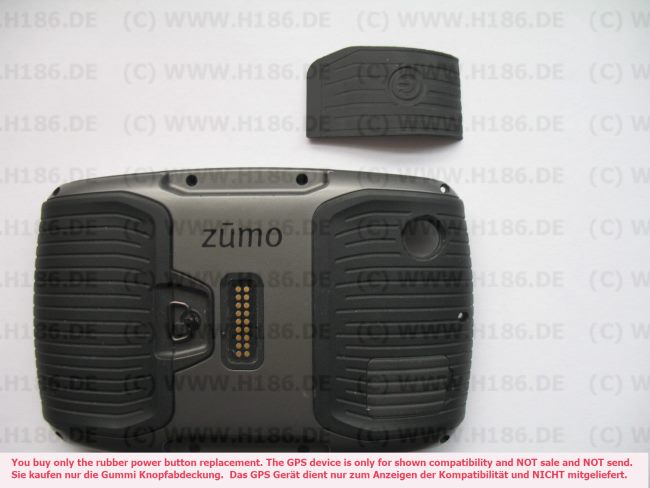
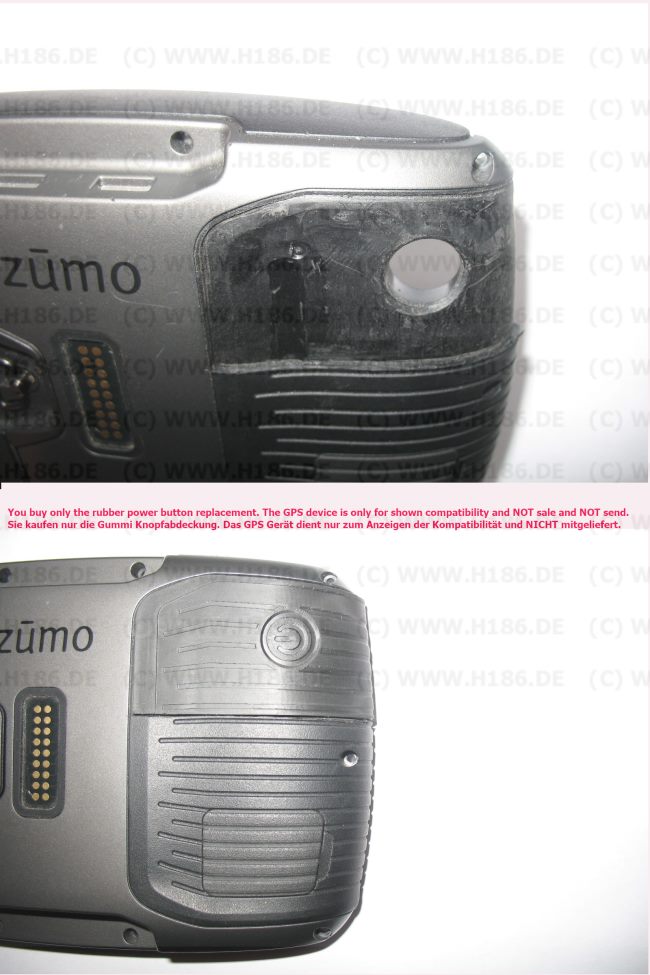
Der Ausgangpunkt sieht so aus - originale abgenutzte oder ausgebrochene Knopf Abdeckung:
The starting point looks like this - original worn or broken button cover:
2-
Positionieren Sie die neue Abdeckung, bis die Kanten des Gerätes und der neuen Abdeckung passen.
Zeichnen Sie eine Linie rechts mit dem Kugelschreiber.
Position the new elatic cover until the edges of the device and new elastic cover fit.
Draw a line on the right with the ballpoint pen.
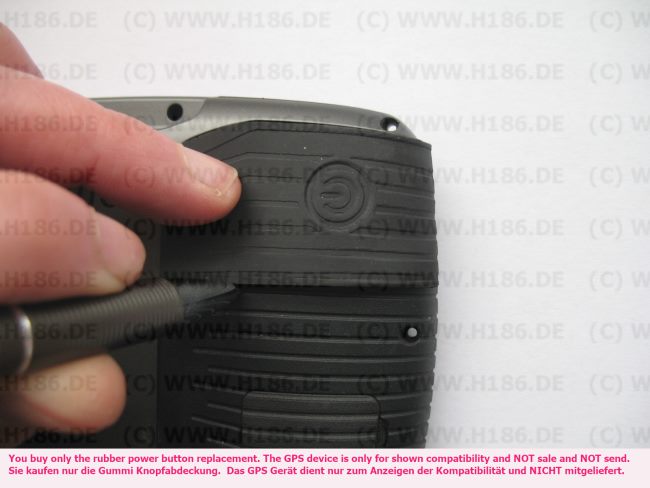
3-4-5
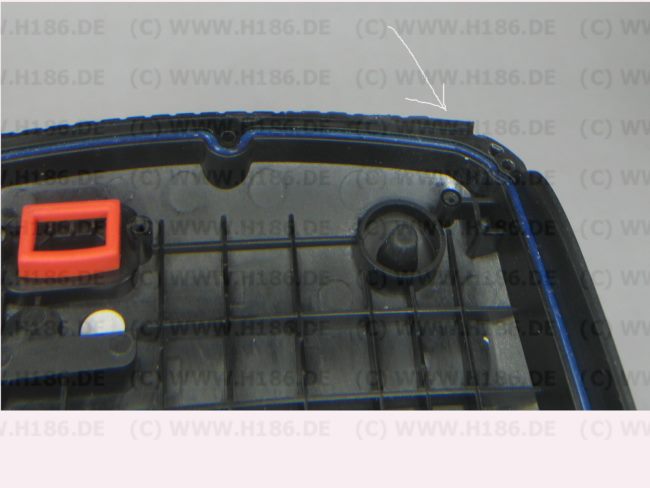
Das Gehäuse besteht aus einem Kunststoff unten und eine elastische Schicht oben.
Die elastische Schicht vorsichtig mit einem keinen Messer oder einer Klinge entfernen, seh. Foto.
Versuchen Sie dabei die untere Kunststoff Schicht nicht zu kratzen, darauf sollte die Ersatz-Abdeckung geklebt werden.
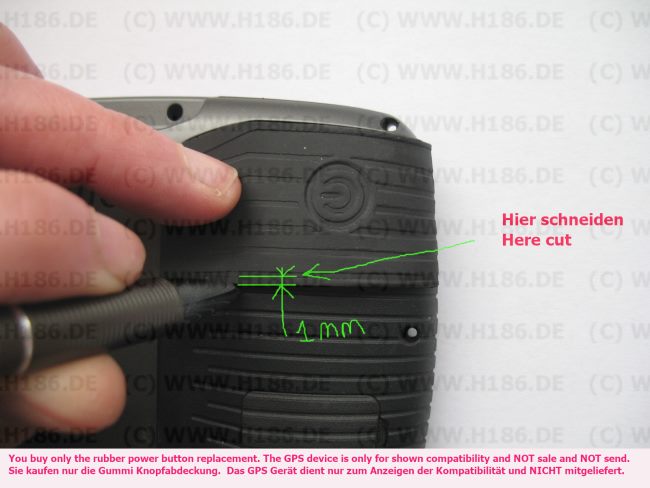
Aber scheiden Sie die elastische Schicht nicht sofort an der Linie rechts gerade entlang aus, sondern um 1mm weniger, seh.Foto.
The housing is made of a plastic at the bottom and a elastic layer at the top.
Carefully remove the elastic layer with a no knife or a blade.
Try not to scratch the lower plastic layer, the replacement cover should be glued to it.
But do not immediately excrete the elastic layer along the line right straight, but by 1mm less, look a photo.
6-
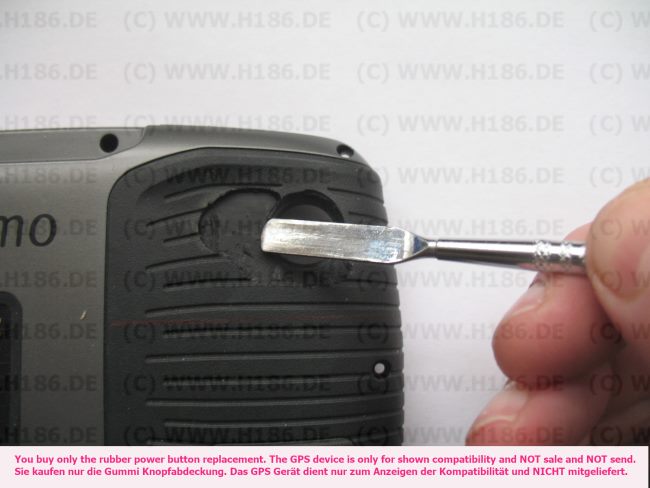
Jetzt können wir die alte elastische Abdeckung entfernen, fangen wir mittig an.
Now we can remove the old elastic cover, let's start in the middle.
7-
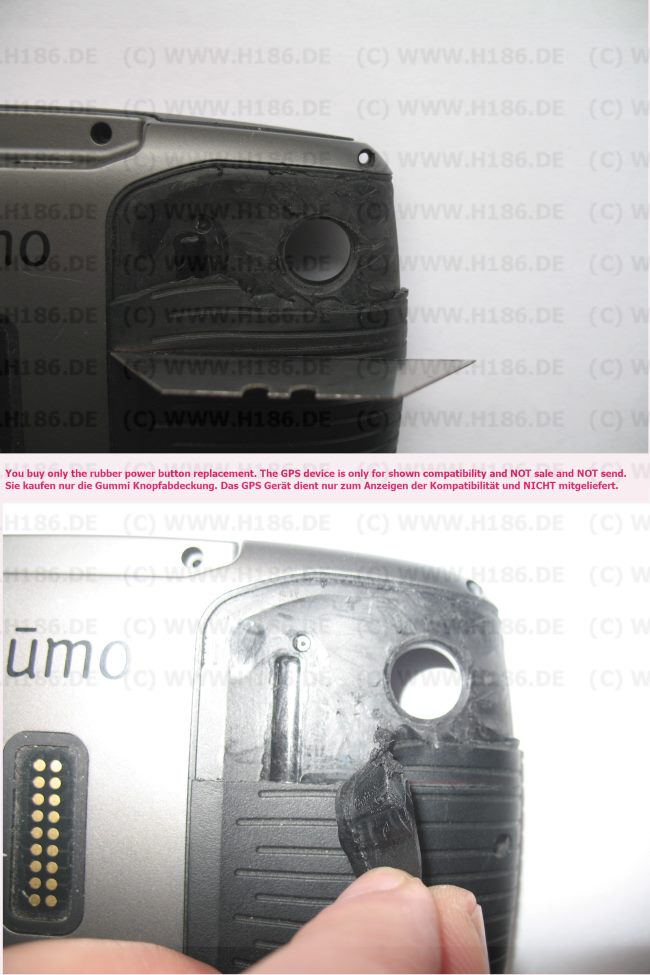
Unten, wo unsere Linie liegt, müssen wir mit einer Klinge zuerst tief schneiden, dann entfernen die alte Abdeckung.
Below, where our line lies, we must cut deep with a blade first, then remove the old elastic cover.
8-
Entfernen die alte elastische Abdeckung vollständig und dann noch mal neue Abdeckung richtig positionieren und beim Bedarf etwas genauer die alte Schicht rechts ausschneiden, bis die neue Abdeckung gut rein passt. Dann können Sie die neue elastische Abdeckung reinkleben. Als Klebstoff empfehlen wir "LOCTITE 454". Lesen Sie die Klebstoff Anleitung durch. Fertig.
Remove the old elastic cover completely and then position the new cover correctly again and cut out the old elastic layer to the right a little more precisely if needed, until the elastic cover fits well. Then you can glue in the new cover. As an adhesive we recommend "LOCTITE 454." Please read the adhesive instructions.
It is ready.
After drying the adhesive, you maybe need to cut off some.
View before and after gluing:
Hinweis:
Soweit die Marke Garmin in der Beschreibung dieses Artikels genannt werden, erfolgt dies ausschließlich als Hinweis darauf, dass unsere Produkte nur mit der genannten Marke kompatibel sind. Es handelt sich bei den hier angebotenen Produkten NICHT um Produkte der Marke Garmin.
Die hier verwendeten Fotos, Namen, Zeichen und Grafiken können Marken- oder Warenzeichen im Besitze ihrer rechtlichen Eigentümer sein. Die Rechte aller erwähnten und benutzten Marken- und Warenzeichen liegen ausschließlich bei deren Besitzern.
Kunden, die diesen Artikel kauften, haben auch folgende Artikel bestellt:
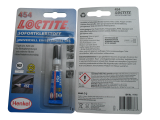 | #454 LOCTITE Universal Gel Klebstoff Sekundenkleber 7,90 EUR / 3g (EUR 2.633,33 / kg)7,90 EUR (inkl. 19 % MwSt. zzgl. Versandkosten) |
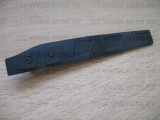 | #148 Ersatz elastische Schalter Abdeckung kompatibel mit Garmin Oregon 700 750 elastic power button replacement15,90 EUR (inkl. 19 % MwSt. zzgl. Versandkosten) |
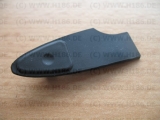 | #155 nur Schalter elastische Abdeckung kompatibel mit Garmin Zumo 340 345 350 390 395 elastic cover button replacement14,90 EUR (inkl. 19 % MwSt. zzgl. Versandkosten) |
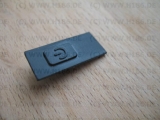 | #150 Ersatz elastische Schalter Abdeckung kompatibel mit Garmin Etrex Touch 25 35 elastic power button replacement16,90 EUR (inkl. 19 % MwSt. zzgl. Versandkosten) |
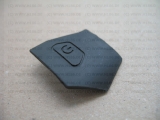 | #140 Ersatz Schalter Abdeckung kompatibel mit Garmin Montana 600 610 650 680 elastic power button15,90 EUR (inkl. 19 % MwSt. zzgl. Versandkosten) |
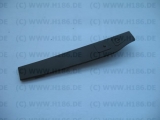 | #146 Ersatz elastische Schalter Abdeckung kompatibel mit Garmin Oregon 600 650 elastic power button replacement15,90 EUR (inkl. 19 % MwSt. zzgl. Versandkosten) |
| Angaben zur Produktsicherheit | |
| Hersteller / EU Verantwortliche Person | Sergey Unterschatz |
| Eingetragene Handelsmarke | H186 |
| Adresse: | Mühlenweg 143, Norderstedt, Schleswig Holstein, Deutschland |
| Email: | GPSR@H186.DE |
| Web: | WWW.H186.DE |
| Telefon | +(040)60098719 |

